

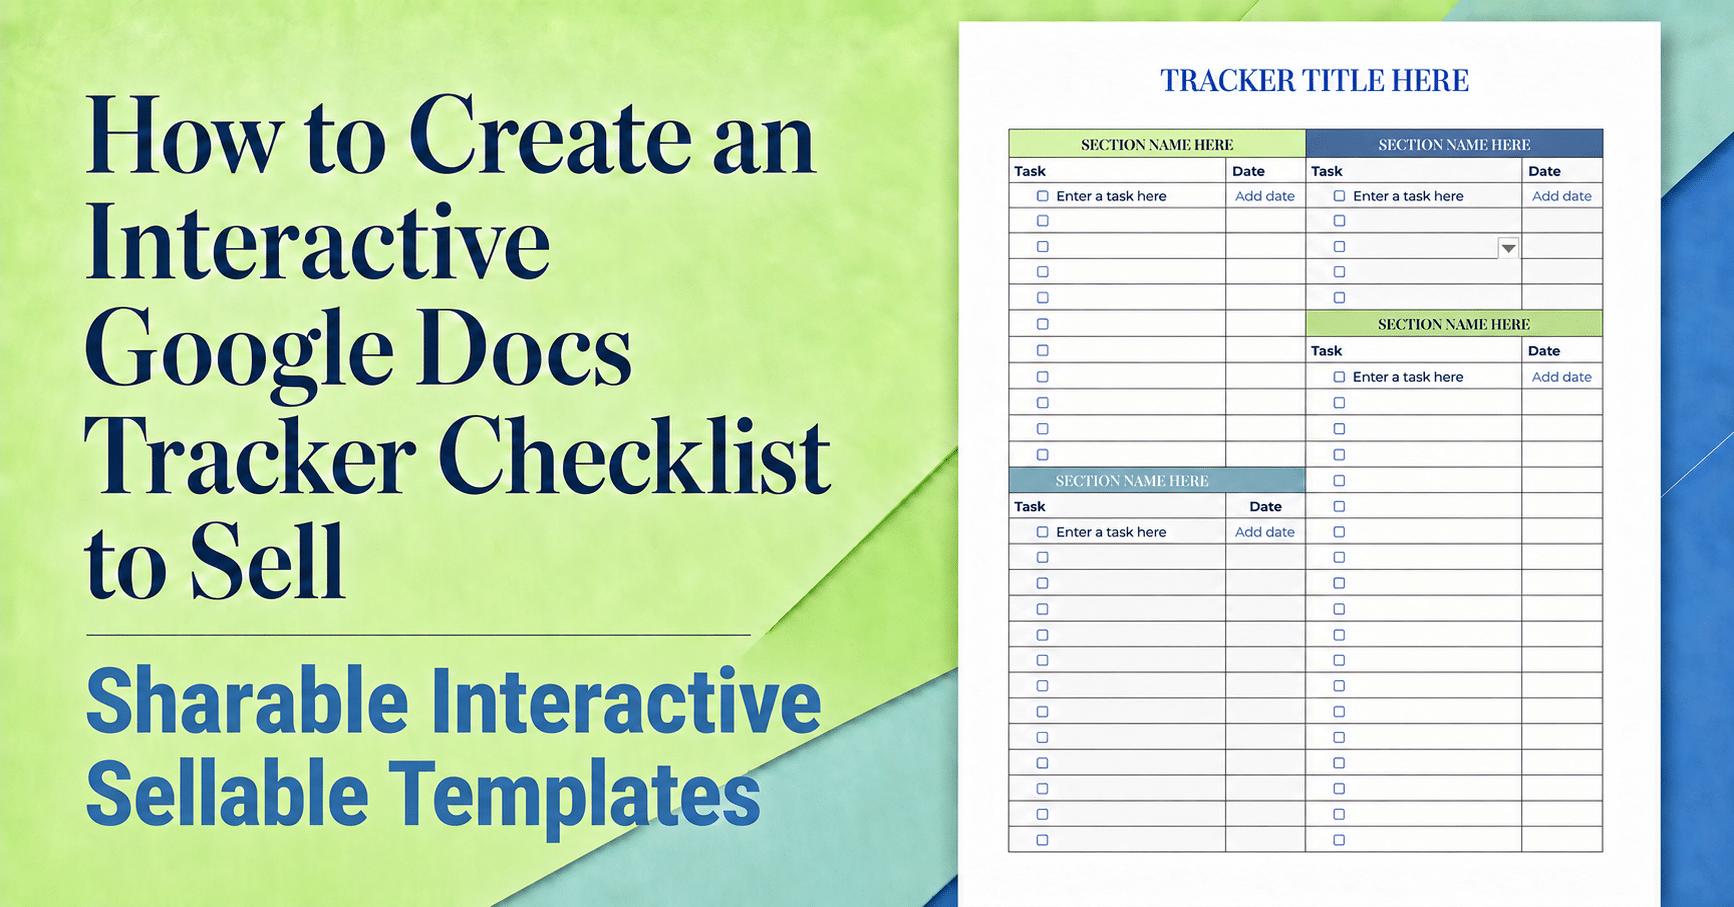
Google Docs-based digital products are extremely popular!
Why? Because they’re shareable, interactive, easy to customize, and accessible on computers, tablets, and phones using the free Google Docs app.
Your customers can click checkboxes, add dates, enter information, and share their trackers with friends and family without purchasing special software.
Google Docs templates like this one are also popular on Etsy and other digital marketplaces.
Get your free copy of this exact, functional Google Docs checklist template to use, edit and/or sell.
CLICK HERE TO SUBSCRIBE AND GET YOUR FREE GIFT.
You’ll hear from me with tips, blog posts, goodies and special discounts for digital product creators a few times a week.
Rather learn how to make Google Docs checklists yourself? Sure! Here you go.
1. Start a New Google Doc
Open a blank Google Doc. Go to File → Page setup, select Pages, and reduce the margins if you want more room for your tracker.
2. Add the Tracker Title
For this example, use: TRACKER TITLE HERE
3. Insert the Table
Go to Insert → Table and create a table with 4 columns and 20 rows.
The first and third columns will hold tasks. The second and fourth columns will hold dates.
Drag the column borders so the task columns are wider than the date columns.
4. Add More Rows
Right-click in the final row and select Insert row below. Repeat this until your table contains approximately 29 rows or reaches the bottom margin.
Your exact number may vary depending on your font size and page margins.
5. Create the Staggered Sections
Count the rows beginning with the first row of the table.
- In row 1, merge the first two cells. Then merge the last two cells. These will become your two upper section headings.
- In row 8, merge the two cells on the right to create the lower-right section heading.
- In row 14, merge the two cells on the left to create the lower-left section heading.
To merge cells, select the two cells, right-click, and choose Merge cells.
Type SECTION NAME HERE in each merged heading cell and apply the Heading 2 style.
This placement gives each section a different height and creates the staggered design.
6. Add the Task and Date Headings
Under each section heading, type:
- Task in the wider column
- Date in the narrower column
Add these headings beneath both upper sections and beneath each staggered lower section.
7. Add the Clickable Checkboxes
Click inside each task cell and select the Checklist icon on the Google Docs toolbar. You can also choose Format → Bullets & numbering → Checklist.

Add a clickable checkbox to every task row.
In the first task row of each section, type: Enter a task here
In the matching date cell, type: Add date
Leave the remaining task and date fields blank so customers can complete them.
8. Add Color and Shading
Select each merged section heading and click the Fill color icon. Give every section a different color from the same coordinated palette.
You can also apply lighter versions of those colors to the task rows beneath each heading. This adds visual interest while keeping the tracker easy to read.
9. Format the Fonts
Use one font for your main title and section headings and another for the remaining text.
- Playfair Display: Main title and section headings
- Montserrat: Task headings, dates, and other text
Make sure all text is large enough to read easily.
10. Prepare the Tracker for Customers
Keep an untouched master copy for yourself.
Create a customer copy and use Google Docs’ sharing controls to set it to Anyone with the link → Viewer.
Include instructions telling customers to open the tracker and select File → Make a copy. They can then rename, edit, share, and use their own copy without changing your original.
You did it! Want more step-by-step video training for 5 additional types of Google-based checklists? Get them here for just $9 (normally $29) when you use code REV for a limited time.