I adore repurposing blog posts! It’s quick. It’s easy. It’s profitable.
And, because of the length of blog posts, and the fact that we typically write posts on several variations of any given topic, it makes them exceptional fodder for other types of content.
One of those is repurposing blog content into printables you can sell or give away.
It’s a quick process to turn one (or multiple) of your blog posts into:
- Checklists – If the post(s) describe a process
- Cheat Sheets – To give a reminder of how-to steps at a glance
- To-Do List – So readers will remember to work through the process
- Infographic – Excellent visual highlights of the content of your post(s)
- Calendar – Set specific time frames to help readers accomplish tasks
- Journal Pages – Allow them to document their journey while working through the information your post provided or to go further beyond what the post taught
- Stickers – With catch phrases or quotes from the blog to motivate and encourage readers
- And so many others!
Let’s look at an example and I’ll walk you through how to do it.
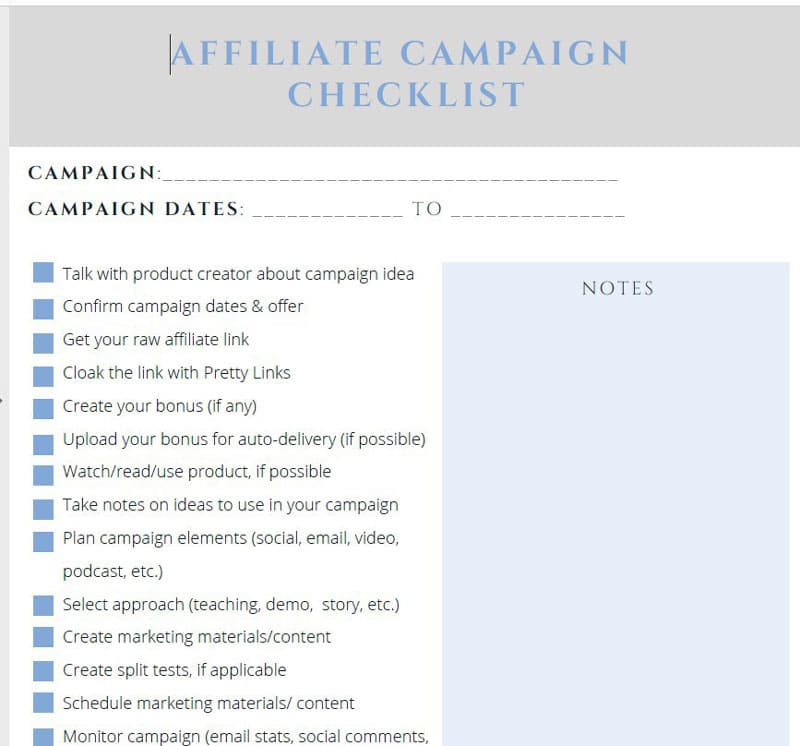
I wanted something to share with the affiliates on my list, so I took information from a blog post I’d previous written. I fleshed it out with the exact process I use when creating an affiliate campaign and — ta dah! — a quick checklist was born.
It took me about 15 minutes to create.
Step 1 — Evaluate the blog posts you’ve already written. See which ones lend themselves to the types of printables you want to create. Tutorial or how-to posts work great for most printables. But you can use idea blog posts and offer journal pages, stickers, and whatnot based on those.
Step 2 — Choose one or two posts that cover various information about the same topic. Think small and specific. For example, I chose a blog post entitled “The #1 Secret Affiliate Marketers Rely on for Success.” This outlines a good portion of the process of creating email campaigns instead of just sending a single email.
Step 3 — Then repurpose the content. Pull out the steps. Just the steps. This is a checklist, so it is — by nature — short and lends itself to bullet points or checkboxes.
Step 4 — Once all the steps (or quotes or ideas or whatever you aim to include in your printable) have been taken from the post(s), arrange them in logical order.
Step 5 – Check for a way to make your printable seasonal. Why? Because seasonal printables are hot sellers. They incorporate a sense of anticipation and urgency while being different than ordinary printables. This free ebook gives you ideas for every month of the year.
Step 6 — Design the printable. I normally use Canva or I create a PDF myself using PowerPoint. You can do this with Google Docs or Google Slides. I searched Canva for “checklists” and picked the template I liked.

Step 7 — After you’ve designed the printable, download it as a PDF file. That’s a universally acceptable file type that pretty much everybody can use regardless of whether they have a PC or Mac.
Step 8 — Give it away to your followers. Offer it for free on social media to drive traffic to your site or blog post. Sell on your own site for a couple of dollars as a low-priced bump offer or an inexpensive intro product. Or put it in your Etsy shop delivered in a .zip file with a flyer that offers a coupon to your on-site store or a direct upsell to a related product at a discount.
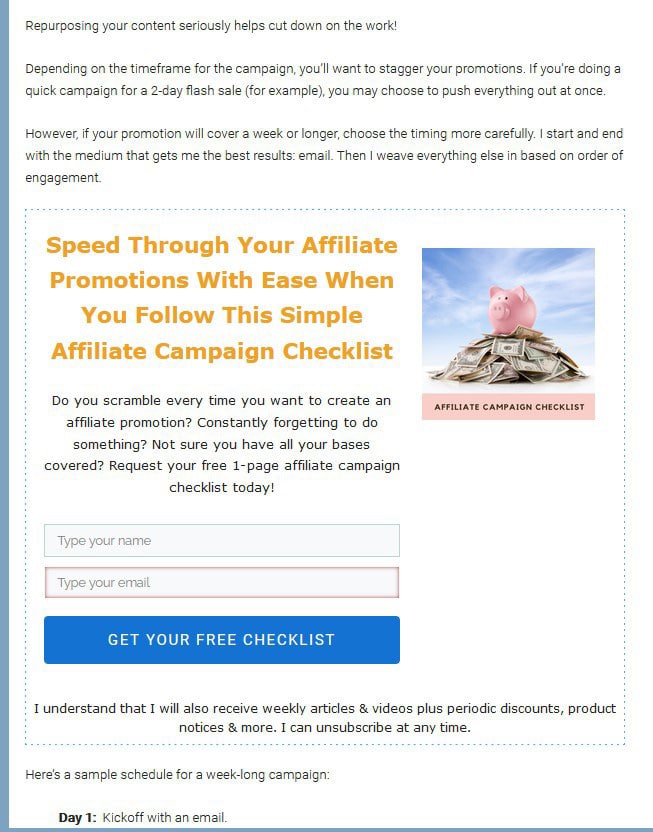
I inserted this into the middle of affiliate-related posts on my blog using a free tool called Ad Inserter.

You can pick up a copy of the freebie above here if you want to check out the final version.
Want to go deeper into this topic? I have the step-by-step training you need to profit from your blog posts and do it quickly.
Save 40% on Blog Post Printables: Repurpose Your Existing Content into Passive Income today. Use code BPP40 at checkout.

Have questions about repurposing blog posts? Talk to me below!
Recommended Learning & Tools
Repurposing Game Plan: Easy Ways to Double Your Exposure & Cut Your Writing Time in Half
Other Related Posts You’ll Love
9 Easy Ways to Brainstorm Unique Blog Post Ideas Readers Crave


Karon, Great article. Ironically, I just added the Ad Inserter plugin this morning for my Ezoic placement holders. If you create the freebie from a post, and then use Ad Inserter, is it linked to your email provider (I’m on MailChimp) to save the subscriber to your list? DId you create the promo box in Canva?
Hey! Thanks! Glad you liked the post.
All Ad Inserter does is insert ads wherever you want within your posts.
I create the forms with Thrive Architect (part of the Thrive Themes suite). I LOVE Thrive! Then I link the form fields to Active Campaign (what I use for email). It’s a very simple process. I’m sure Thrive has a way for you to connect the form to MailChimp and other email software.